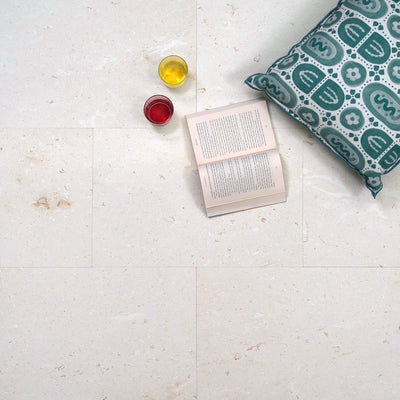
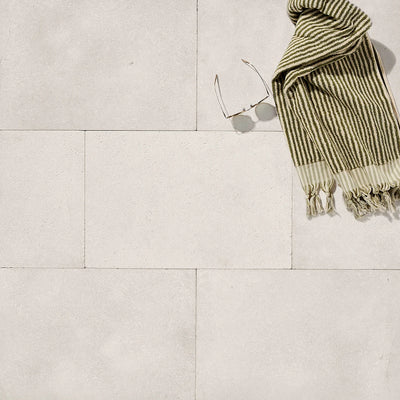
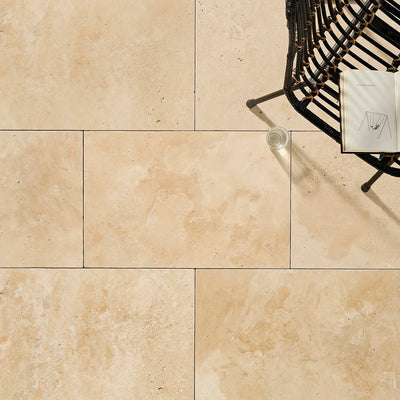
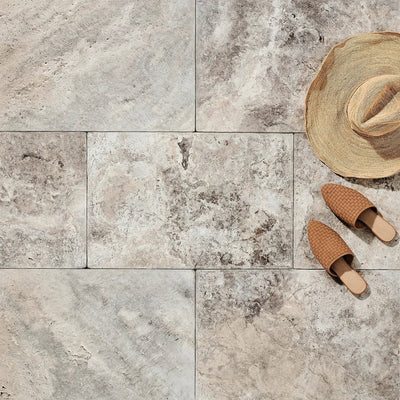


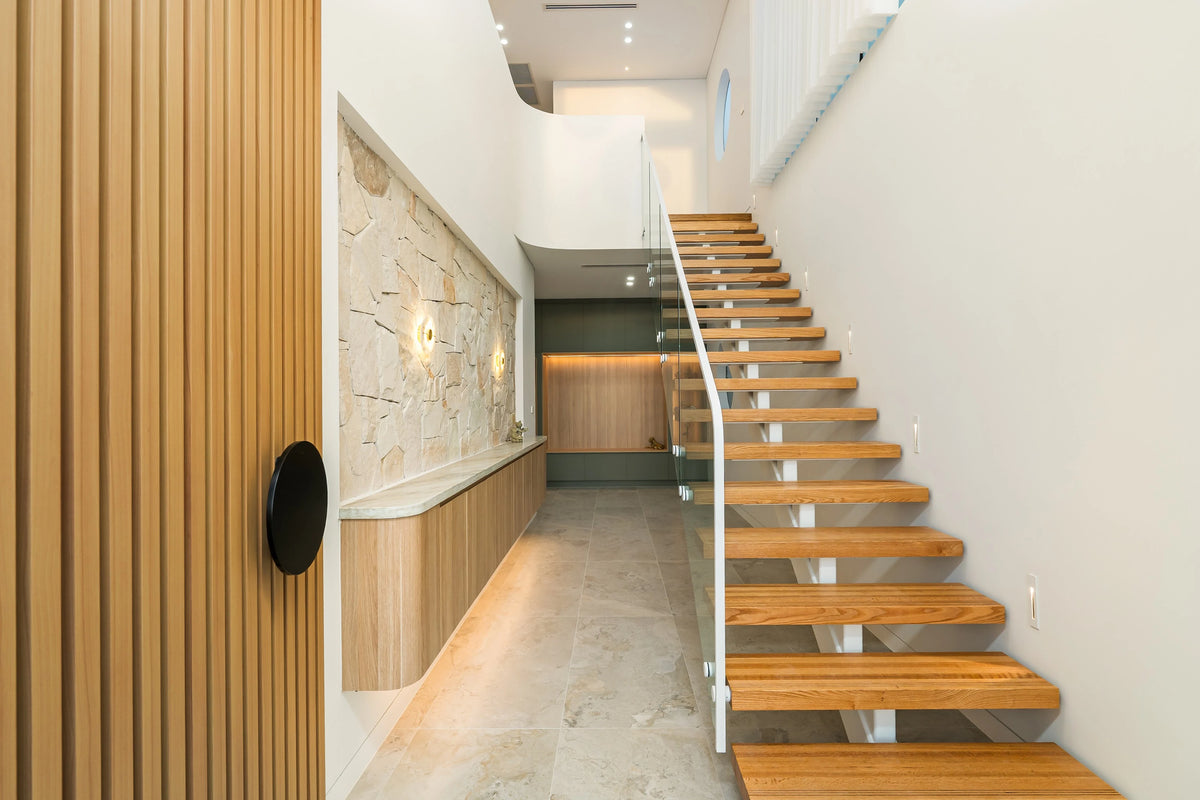
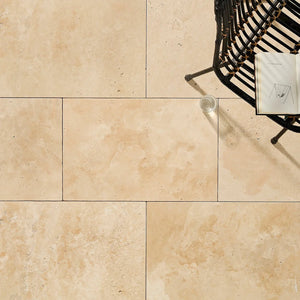
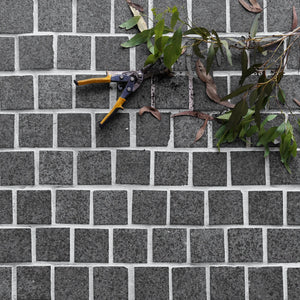
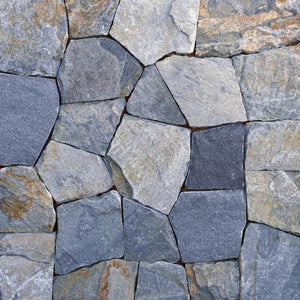
Best Selling Products
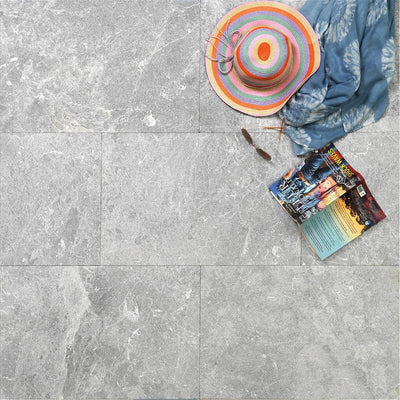
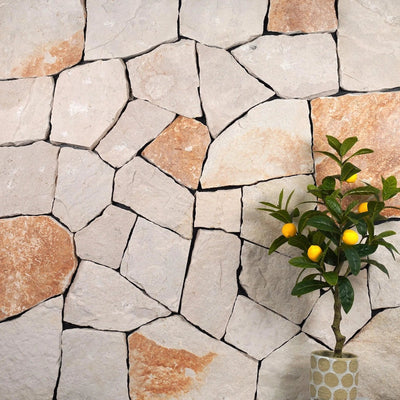
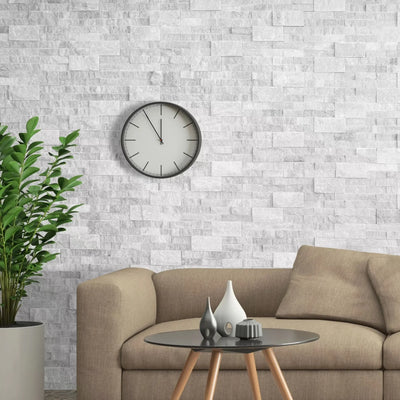
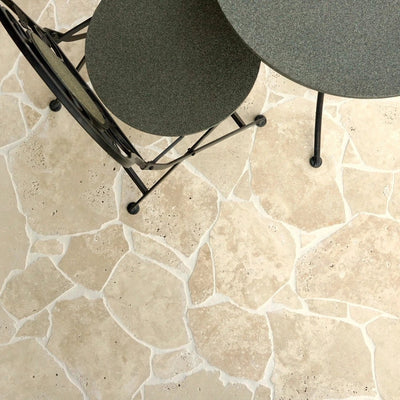
Our most popular natural stone flooring and walling products cover travertine and limestone through to granite, bluestone, sandstone and more.
Shop by Collection
Stone Centre's natural stone range covers exterior and interior applications for Australian residential and commercial projects. Explore outdoor pavers, cobblestones, crazy paving, pool tiles, indoor tiles, stepping stones and wall cladding.

About Us
Stone Centre has been supplying natural stone across Australia since 1989. We are natural stone suppliers in Sydney (NSW), Melbourne (VIC) and Brisbane (QLD), with warehouses in all three cities and Australia-wide delivery. Our range covers natural stone tiles, pavers, copings, outdoor tiles, cobblestone pavers, pool surround, stepping stones and walling across Travertine, Limestone, Marble, Granite, Sandstone, Bluestone and Slatestone, suited to residential and commercial projects. We supply natural stones to homeowners, builders, architects, landscapers, pool builders, and developers. Order free samples or contact our team to discuss your project requirements.
Recent Posts
Learn how to upgrade your indoor and outdoor space with easy ideas and advice from our blog.
9 Winter Landscaping Ideas Using Natural Stone in Australia
Winter's actually the smartest time to sort out your outdoor space, not the worst. Trades have more availability, plants go dormant so there's less mess to work around and the season provides ideal conditions for planning and improving the outdoor spaces. While everyone else waits for spring and then scrambles to book a landscaper, you could have your paving, walls and fire pit ready to enjoy the second the weather warms up. Natural stone is particularly suited to Aussie conditions. It handles temperature swings, copes with heavy winter rain in the southern states and doesn't fade or warp the way some synthetic materials do. In this guide, you'll get nine practical natural stone landscaping ideas for winter, plus the answers to the questions homeowners actually ask such as which stones is a better choice and which stones will go well together. Creative Winter Landscaping Design Ideas Winter is a feeling and there is nothing better than gathering around a fire pit with your favourite people. To create a comfortable setup, you need to plan everything. Here are some creative landscaping design ideas for winter. 1. Go Bold with a Crazy Paved Courtyard Crazy paving uses irregular, broken pieces of stone fitted together like a puzzle and it's having a real moment in Australian gardens. It works brilliantly for winter projects because offcuts and remnant stone are often cheaper and readily available. But if you want the one that are well suited for outdoors then it can be expensive but worth the look and feel. Best stones: Sandstone and bluestone crazy paving both weather well and develop a lovely, aged character over time. Slip tip: Choose a split-face or naturally textured finish rather than a honed one; the irregular surface gives better grip when footpaths get slick with rain. 2. Stepping Stones Through Garden Beds Laying stepping stones are one of the easiest weekend projects and they can instantly make a garden feel appealing. In winter, when garden beds are muddier underfoot, a stepping stone path stops you tracking dirt through the home. Space them at a natural walking stride , roughly 60-65cm apart and set them slightly above the soil so water drains away rather than pooling on top. Which stones work best: Bluestone or Granite are ideal as they can manage the foot traffic and offer pop in colour. 3. Stone Wall Cladding that Stands Out Wall cladding is a fast way to transform a bland brick fence, retaining wall or outdoor kitchen without a full rebuild. Thin stone veneers are lightweight, quick to install and give the same visual impact as solid stone at a fraction of the cost. Limestone and travertine cladding both bring a warm, Mediterranean feel that suits Australian homes, especially north-facing courtyards that catch winter sun. 4. A Stone Fire Pit as the Winter Focal Point Nothing says "outdoor entertaining, even in July" quite like a fire pit. A circular bluestone or granite fire pit becomes the natural gathering spot on cold nights and both stones handle heat exposure pretty well. 5. Granite for your Entryway Front entry steps take a beating in winter wet shoes, dropped umbrellas, kids running in from the rain. Granite is one of the hardest natural stones available, making it perfect for steps and other high-wear areas. It's also easy maintenance, which makes it a smart pick if you want something that gives luxe feel without putting too much effort into it. 6. Stone Edging to Define Garden Beds A simple row of stone edging keeps garden beds tidy and stops mulch washing onto paths during heavy winter downpours. Small sandstone tiles or limestone work well here and are an easy and quick choice for a DIY weekend job. 7. Create a Sun-Warmed Courtyard Travertine has a soft, sun-baked look that makes outdoor spaces feel warmer even on a grey winter's day. It's especially popular for alfresco courtyards and patios because it stays relatively cool underfoot (light colour) in summer while still looking inviting in winter. Sealing note: Travertine is naturally porous in nature, so it does need sealing before the wet season hits. Unsealed travertine can absorb moisture, which leads to staining and over time surface pitting. 8. Combining Stone Types for Layered Texture The most striking gardens rarely use just one stone. Pairing a bluestone path with sandstone retaining walls and granite steps creates depth and visual interest without looking mismatched, as long as the tones sit in the same warm-to-cool family. Design tip: Stick to two or three stone types maximum in one space any more than that can start to feel busy rather than considered. 9. Sandstone Retaining Walls for Sloped Gardens If your property has any slope, winter rain will show you exactly where drainage problems live. Sandstone retaining walls are both functional and good-looking, holding back soil, improving drainage while adding natural look to your garden space. Sandstone pairs particularly well with native plants; think grevilleas, kangaroo paw and grasses because the stone's warm ochre and honey tones echo the natural Australian bush palette. Stone Slip Resistance (Wet) Moss Risk Finish options recommended Best Use Bluestone High (textured finish) Low-Moderate Honed Paths, fire pits, courtyards Travertine Moderate Moderate Honed and filled & honed and unfilled Courtyards, alfresco areas Limestone Moderate High in shaded/damp spots Honed, flamed, sandblasted and anti-slip Wall cladding, edging Granite High Low Honed and anti-slip Steps, high-traffic areas Sandstone Moderate-High (textured) Moderate Honed and Sandblasted Retaining walls, stepping stones Note: The information above is intended as a general guide. Always consult your architect or landscaper to select the right quality natural stone for your property's surroundings, that suits the climate and lifestyle. Mistakes to Avoid with Winter Stone Landscaping Skipping sealant: Limestone, sandstone and travertine all need sealing before wet weather sets in or else they can soak up moisture and stain. It’s better to be prepared for the season. Choosing polished finishes for outdoors: They look sleek in a showroom but turn into a slip hazard the moment it rains. Ignoring drainage: Laying stone directly onto poorly drained soil is a fast track to pooling water and eventual stone movement. Ensure to have a solid base to have a stress-free experience throughout the season. Mixing too many stone tones. It's tempting to grab whatever's on sale, but a scattered palette makes a garden feel unplanned. Maintenance Tips to Keep Stone Looking Its Best Sweep leaves and organic debris off paving regularly as decomposing leaves are one of the biggest causes of moss build-up. Reapply sealant every 1-3 years on porous stones like limestone, sandstone and travertine. Use a stiff outdoor broom and a diluted, stone-safe cleaner rather than a high-pressure hose, which can wear down grout lines over time. Check drainage points before winter rain sets in to avoid water sitting on the surface. Final Thoughts Winter isn't a pause button for your garden; it's a head start. Whether you're after a crazy paved courtyard, a stepping stone path through the garden beds or a fire pit to make the cold nights worthwhile; natural stone offers a variety of options. Pick the right stone for the right spot, seal what needs sealing and you'll have an outdoor space ready to enjoy well before summer rolls around. Q1. Is winter a good time to landscape with natural stone in Australia? Ans: Yes. Cooler temperatures make it easier to work with stone and concrete, tradies are generally more available, and your garden will be ready to enjoy as soon as spring arrives. Q2. How do I stop moss growing on stone paving? Ans: Keep the surface free of leaf litter, ensure good drainage and avoid overly shaded, damp spots where moss thrives. Occasional cleaning with a stone-safe solution also helps. Q3. What natural stone pairs best with native Australian plants? Ans: Sandstone's warm, earthy tones complement native gardens particularly well, sitting naturally alongside grevilleas, banksias and ornamental grasses.
Read moreWhy are Algae Growing on My Natural Stone?
You step outside on a winter morning, coffee in hand and there it is that dull green film creeping across your sandstone path or pool surrounds. It wasn't there in summer. Now it's everywhere making the walk to the clothesline feel like an ice-skating rink. Before you reach for the bleach or the vinegar spray bottle everyone on the internet swears by, stop. If your paving is limestone, travertine or marble, that "trusted" advice could be quietly eating away at your stone. Here's what's actually going on and how to fix it properly. Why Winter Is Prime Time for Algae on Natural Stone Algae aren't dirt. They are a living, photosynthesising organism, technically closer to a plant than a stain and need three things to thrive: moisture, a food source (organic dust, pollen, minerals in the stone itself) and just enough light to photosynthesise. Do you know? Algae don't need full sun. They actually prefer filtered or indirect light which is exactly what winter delivers; the sun sits lower in the sky, days are shorter and shadows from fences, trees and the house fall across paving that got full sun all summer. The Perfect Storm: Low Sun, High Moisture, Slow Evaporation In summer, Melbourne, Sydney and Brisbane paving dries out within an hour or two of rain. In winter, that same puddle can sit for a day or more. Lower temperatures slow evaporation, the sun's weaker angle can't burn off moisture the way it does in January and southerly-facing or shaded areas barely see direct light at all. Add in damp joint sand and leaf litter and you've built algae a five-star hotel. Which Natural Stone Types Are Most Prone to Algae? This is where most cleaning guides get lazy as they treat "natural stone" as one material. It isn't and knowing the difference matters before you clean anything. Sandstone Algae: Why It's the Most Vulnerable Stone - Sandstone is genuinely porous as it drinks up water rather than shedding it, which is part of why it feels so good underfoot in summer. In winter, that same porosity means it holds moisture longer than almost any other paving stone, making it the most algae-prone material in the whole natural stone family. Algae on Travertine: Small Holes, Big Problem - Travertine's signature pitted texture (those little surface holes formed as the stone develops) is brilliant though it also gives algae spores somewhere to lodge and hide from surface cleaning. Algae on Limestone and Marble: Handle with Care - Both are calcium carbonate-based, which means they're chemically reactive to acid including the vinegar half the internet recommends for algae. More on this below. Granite and Bluestone: The Low-Maintenance Toughs - Both are dense, low-porosity stones with far less water absorption, so while they're not immune to algae, they're noticeably more resistant and easier to keep clean through winter. The Big Mistake: Why Vinegar and Bleach Can Wreck Your Stone Vinegar is acetic acid. Bleach, in high enough concentrations, is also alkaline enough to cause damage over repeated use. Neither is a problem with concrete or porcelain but limestone, marble and travertine are all made of calcium carbonate and acid reacts with calcium carbonate the same way it would with chalk. The result is called etching: a dull, rough, permanently marked patch where the surface has literally been dissolved. How to Safely Remove Algae from Natural Stone? (Without Damaging It) Dry sweep first: Clear loose debris, leaves and dirt with a soft-bristle broom before adding any moisture as this alone removes a good portion of the food source algae needs. Use a pH-neutral, stone-specific cleaner: Look for products labelled safe for natural stone (not just "pavers") and check they're calcium carbonate safe if you have limestone, travertine or marble. Low-pressure rinse only: A wide-fan, low-pressure hose or gentle pressure washer setting lifts algae without forcing water deeper into the stone's pores or blasting out joint sand. Let it dry fully before resealing: Trapping moisture under a fresh seal coat only sets you up for the same problem again. Preventing Algae on Natural Stone Before Winter Hits Reseal with a breathable sealer: A quality sealer designed for natural stone reduces water absorption without trapping moisture inside which is the opposite of what a cheap "wet look" coating can do. Fix drainage before winter hits: Standing water is the single biggest predictor of algae. A slight regrade or additional drainage point around low spots pays for itself. Keep joints topped up: Damp, sunken joint sand is a moisture trap and a weed magnet in one. Prune back overhanging growth: Even a small increase in winter sun exposure makes a measurable difference to how fast paving dries out. Algae vs Moss vs Lichen: What's Actually Growing on Your Stone? Algae need light to photosynthesise and deeply shaded areas often grow more moss and lichen instead. These are different organisms entirely with their own removal rules. So, if you're seeing black, crusty patches rather than green films, that's usually lichen and it needs a different approach altogether. When to Call a Professional Stone Cleaner If algae have been left untreated for more than a season, if you're dealing with heavily pitted travertine or if a previous cleaning attempt has already left etching or dulling on limestone or marble, it's worth getting a professional stone restoration quote before you make it worse with more DIY chemicals. The Right Stone Makes Winter Easier Too If you're planning a paving project and winter algae is a genuine concern for your site (shaded courtyard, south-facing path, pool surround under trees), it's worth factoring that into your stone choice from the start. Granite and bluestone are naturally lower-maintenance options for damp, shaded areas, while sandstone and travertine reward a bit more seasonal care in exchange for their warmth and character. Not sure which stone suits your space? Stone Centre’s range spans the full spectrum from low-maintenance granite to characterful travertine. Grab a free sample and see how each one actually feels before you commit.
Read moreHow to Choose the Right Tiles Using P and R Ratings
You're standing in a tile showroom, holding two beautifully identical tiles. One costs $20. The other cost $50. The sales associate mentions something about "P ratings" and "slip resistance," but you are already overwhelmed by the sheer variety. You pick the cheaper one and hope it's the right choice. Sound familiar? Well, most homeowners don't realise that choosing tiles based on looks alone is like buying a car based on paint colour; you are missing everything that matters. The Truth: The difference between a tile that lasts 20 years and the one that needs replacement in 3 years often comes down to two ratings you have probably never heard of: P and R ratings. This guide is exactly what you need. It breaks down exactly what these ratings mean, which of these your home needs and how to avoid the expensive mistakes most people make. What Is the P Rating? A P rating measures how slip-resistant a tile is when wet. It is one of the essential safety considerations, particularly for the outdoor spaces such as patios, walkways, courtyards and garden walkways, crucial for Australian winters when surfaces can get slippery from rain or early morning moisture. The Australian and British standard rates tiles from P1 to P5, with higher numbers indicating superior grip and lower slip risk. P Rating Scale Breakdown P Rating Slip Resistance Level Best Used For P1 Low Dry indoor areas only (no wet zones) P2 Minimal Indoor areas with occasional moisture P3 Moderate General outdoor areas, patios, walkways P4 High Pool surrounds, wet areas, sloped surfaces P5 Very High Commercial kitchens, steep slopes, high-risk zones What Is an R Rating? (Slip Resistance Explained) An R rating (also called R-value) measures how slippery a tile is when wet. It's a critical safety factor, especially for areas like bathrooms, kitchens and entryways. The European standard rates tiles from R9 to R13 with higher numbers indicating better grip and lower slip risk. R Rating Scale Breakdown R Rating [1, 2, 3] Friction Level Slip Resistance Best Use Typical Environments (Suitable for) R9 Low ~20° incline Kitchens, dry areas, alfresco Residential, low moisture R10 Low-Moderate ~25° incline Kitchens, living rooms Standard household use R11 Moderate ~35° incline Bathrooms, kitchens, patio, entryways Wet areas, good friction R12 High ~40° incline Bathrooms, pool edges Very slippery areas R13 Very High 45° incline Commercial kitchens, hospitals Extreme slip hazard areas How is it measured? The angle of incline at which a weighted cylinder begins sliding on the tile surface when wet. The higher the R rating, the higher the slip resistance. For instance, R9 means basic slip resistance; however, R13 handles slopes over 45 degrees and offers a stronger grip. In R ratings, the angle tells you about the level of grip a tile provides; higher angles indicate better slip resistance. Quick Recap of the Difference Between R and P Rating Feature R Rating P Rating How It's Tested Oil-wet inclined ramp test (testers walk on an oil-coated ramp) Wet pendulum test (measures the friction of a swinging rubber slider on a wet surface) What It Shows Grip and safety on sloped surfaces, particularly under oily/greasy conditions Slip resistance and dynamic friction in wet pedestrian conditions Rating Range R9–R13 P0–P5 Used in Australia Sometimes (typically for specific industrial or commercial applications) Widely used (the primary standard for compliance and risk assessments) How P Ratings Are Tested: The Pendulum Test P ratings aren't subjective; they're measured using the pendulum test, a standardised method that quantifies slip resistance objectively. How the pendulum test works: A rubber slider (simulating a shoe sole) is attached to a swinging pendulum. The pendulum swings across a wet tile surface at a fixed angle and speed. The friction between the rubber and the tile determines how far the pendulum swings before stopping. Lower friction = longer swing = slippery tile = lower pendulum test value Higher friction = shorter swing = better grip of tile = higher pendulum test value The test is repeated several times on the same piece of tile at different points to ensure consistency. Results are converted into the P1-P5 scale based on friction coefficient measurements. Why this matters: This test creates real-time situations such as wet bathroom floors, kitchen spills, poolside surfaces and provides consistent, measurable data that manufacturers can verify. It's the gold standard for slip resistance testing across Australia and is increasingly adopted worldwide. TABLE- Pendulum test Location Wet Pendulum Test Oil-wet Inclining Platform Test External Pavements & Ramps External ramps including sloping driveways, footpaths etc. steeper than 1 in 14 P5 R12 External ramps including sloping driveways, footpaths etc. under 1:14, external sales areas (e.g. markets), external carpark areas, external colonnades, walkways, pedestrian crossings, balconies, verandas, carports, driveways, courtyards and roof decks P4 R11 Undercover carparks P3 R10 Hotels, Offices, Public Buildings, Schools and Kindergartens Entries and access areas including hotels, offices, public buildings, schools, kindergartens, common areas of public buildings, internal lift lobbies Wet area P3 R10 Transitional area P2 R9 Dry area P1 (see Note 3) R9 Toilet facilities in offices, hotels and shopping centres P3 R10 Hotel apartment bathrooms, en suites and toilets P2 A Hotel apartment kitchens and laundries P2 R9 Supermarkets and Shopping Centres Fast food outlets, buffet food servery areas, food courts and fast food dining areas in shopping centres P3 R10 Shop and supermarket fresh fruit and vegetable areas P3 R10 Shop entry areas with external entrances P3 R10 Supermarket aisles (except fresh food areas) P1 (see Note 3) R9 Other separate shops inside shopping centres – wet P3 R10 Other separate shops inside shopping centres – dry P1 (see Note 3) R9 Loading Docks, Commercial Kitchens, Cold Stores, Serving Areas Loading docks under cover and commercial kitchens P5 R12 Serving areas behind bars in public hotels and clubs, cold stores and freezers P4 R11 Swimming Pools and Sporting Facilities Swimming pool ramps and stairs leading to water P5 C Swimming pool ramps and stairs leading to water P4 B Communal changing rooms P3 A Undercover concourse areas of sports stadiums P3 R10 P3 R10 Hospitals and Aged Care Facilities Bathrooms and en suites in hospitals and aged care facilities P3 B Wards and corridors in hospital and aged care facilities P2 R9 E-E-A-T: Why This Matters for Your Home Experience: Homeowners who choose the wrong tiles often regret their decision later when the tiles start to show the signs of wear and tear or become slippery. Expertise: Tile manufacturers have engineered these rating systems after decades of testing. Following them isn't just another marketing tactic; it's the result of rigorous standards designed to help you choose correctly. Authority: Major tile manufacturers use these same P and R rating systems in their product specifications. Trust: Checking these ratings before making a purchase is the best way to ensure you're buying tiles suited to your home's actual traffic patterns and safety needs. Closing Thoughts Choosing tiles should go beyond colour, pattern and finish. Understanding P and R ratings helps ensure your tiles are suitable for different spaces while providing the durability and safety needed. P & R ratings help you assess slip resistance according to the Australian Standards. Together, they provide a proper understanding of tiles that gives you confidence to purchase the right tile. By keeping in mind the right ratings for the right spaces, you can create an environment that not only look great on day one but continue to perform well for years to come. FAQ’s Q.1 Which is more important, P or R rating? Ans. Both are important. While P Rating and R Rating both assess slip resistance, they use different testing methods. The right rating depends on the application's use, exposure to moisture and the level of slip resistance. Q.2 Is P3 suitable for residential floors? Ans. Yes. P3 is generally suitable for residential areas such as bedrooms, living rooms and other indoor spaces with low to moderate foot traffic. However, the right P rating depends on the specific area, its exposure to moisture and how much grip is needed for the safe use. Q.3 What R rating should outdoor tiles have? Ans. Most outdoor residential applications benefit from an R11 rating or higher to improve grip and safety.
Read moreCombustion Fireplace Vs. Normal Fireplace: What’s the Difference?
There is something about a fireplace that instantly changes the mood of a home. The soft crackling sound, warm glow and cosy atmosphere can make even the coldest winter evening feel relaxing. But whenever you are planning a fireplace, one question always comes up. Should you go for a combustion fireplace or a traditional open fireplace? At first glance, both may seem similar because they use firewood and create warmth. But the way they heat, how much maintenance they need, even the overall feel they create can be relatively different. And choosing the wrong one can affect not just your comfort but also how practical your space feels during winter. Some homeowners prefer maximum warmth, while others love the ambience and aesthetics. The right choice depends on how a space actually feels. Let’s understand both one by one. What Is a Combustion Fireplace? A combustion fireplace is a closed wood heater designed to burn wood more efficiently. The fire burns inside a sealed firebox with controlled airflow, helping trap and circulate heat throughout the room. From a design perspective, a combustion fireplace works beautifully in modern Australian homes because they feel cleaner and give a more architectural feel. The overall look gives a refined feel. For a more holistic look, many homeowners extend similar materials to their walls to create a statement. It is such a smart way to add beauty and functionality. Wall cladding stone works beautifully, whether indoors or outdoors. You can also use them around patio or alfresco areas to create a seamless indoor-outdoor connection. You will often see combustion fireplaces styled with: Minimal timber mantels Statement wall cladding Neutral earthy palettes Open-plan living layouts Floor-to-ceiling windows What Is a Traditional Open Fireplace? A normal fireplace usually refers to a traditional open fireplace with exposed flames and an open chimney cavity. This style is all about atmosphere. The visible firewood and soft crackle sounds give a more relaxed feel with a bit of nostalgia. Design-wise, open fireplaces often become the emotional center of the home rather than just a heating source. If you are planning to add an open fireplace, then using natural stone, warm timber beams and soft lighting is a perfect way to create a cosy atmosphere during winter. They suit spaces that feel: Rustic Coastal Farmhouse-inspired Traditional Organic and layered Which Fireplace Looks Better in Modern Homes? This honestly depends on the type of aesthetic you are trying to create. If your home features clean lines and minimal styling, combustion fireplaces usually fit more naturally into the design. Their sleek structure feels more visually lighter and polished within modern interiors. On the other hand, traditional fireplaces bring softness and character into homes that feel relaxed and textured. They create that classic winter look that attracts the attention of the visitors. A lot of Aussie people now blend both modern and natural elements together. For example, a combustion fireplace surrounded by stone feels warm and organic. Fireplace Styling Makes a Huge Difference No matter which fireplace style you choose, the surrounding materials shape the final look just as much as the fireplace itself. If you are opting for natural textures, the space will feel warm with a cosy vibe. Stone timber, soft lighting and earthy tones all work together to create a balanced space. If you are opting for an outdoor fireplace in a way that the space flows seamlessly with indoor fireplace zones, helping the entire home feel more connected and cohesive. Features like stacked stone cladding adds beauty, texture and natural focal point that instantly enhances the cosy atmosphere. When you combine with warm lighting and earthy finishes, the space not only feel inviting but a perfect spot to relax and enjoy colder evenings. Which Fireplace Is Easier to Maintain? Combustion fireplaces are generally easier to maintain because they create less ash, less smoke and cleaner burning overall. Open fireplaces require more cleaning since ash and soot build faster. Smoke can also move to other rooms occasionally, depending on the performance of airflow and chimney. If you are looking for a fireplace that feels lower maintenance and more practical for everyday use, combustion systems tend to be an easier option. Final Thoughts Both combustion and traditional fireplaces bring something beautiful into a home. The real difference lies in the kind of atmosphere you want to create. If you are looking for strong heating performance, modern styling and an efficient system, then a combustion fireplace is often the better fit. If you are drawn to ambience, visible flames and a relaxed feel, then a traditional fireplace may be best suited for your space. And when you pair the fireplace with natural textures and lighting, then you create a home that feels cosy and beautifully connected to the Australian lifestyle.
Read more


