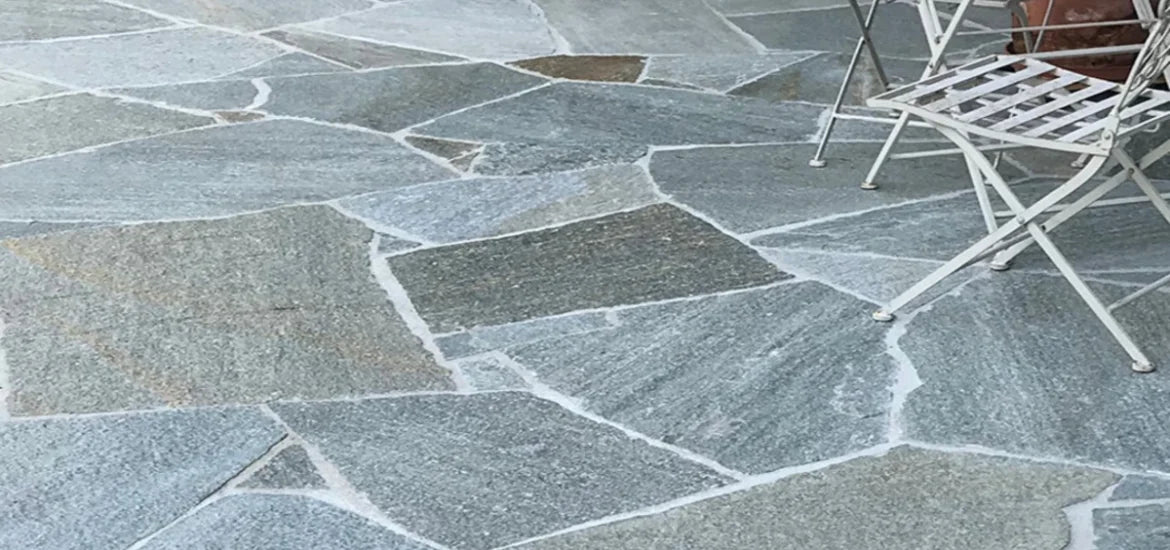
In a world where everyone wants to stand out, the desire to possess something unique is self-explanatory! Could that be the reason why people prefer to choose crazy pavements for their outdoors? Maybe! For those who do not know, Crazy Pavers, also known as Flagstones in Australia, are one of the most popular ways to create stunning outdoor areas.
This style features random-sized stones being arranged to create a dynamic-looking structure. In fact, you would be surprised to know that people love this paving style to make their property stand out apart from the rest. Naturally, when you have it installed, the desire to know about the details and maintenance becomes a priority, and honestly, we do not blame you.
So, if you have been searching the internet for “How to repair Crazy Pave Tiles” and found yourself tired of not being able to find the results of your desire, then you are surely going to love this read! This blog covers the step-by-step guide that will help you repair your crazy pavement. With clear instructions and tips, you’ll be able to bring your outdoor space back to life. So, read on!
Here Are the 9 Steps Explained to Repair Your Crazy Pavement
First thing first, what is the need to repair a pavement made using Crazy Pavers? The answer is simple, you do not wish for the aesthetics to be compromised or want your pavement to remain functional in a holistic sense.
This is also necessary because with time it is natural for such pavement to be affected by the elements it is exposed to.
Step 1
The first step to replacing your crazy paver tiles is to figure out the area that needs repair. This is also crucial because you need not repair all the stones (whether tile or pavers)—only those stones that are chipped or cracked. By focusing on the damaged area, you’ll end up saving time and resources while restoring your pavement.
Step 2
After figuring out the area of interest (i.e., where you need to repair) remove or extract it out carefully using the appropriate tools. Make sure that you are taking care of safety and wearing your protective gear such as gloves and a face shield, etc.
Step 3
In this step, you need to make sure that the mortar or bedding that the extracted paver or tile was attached to is completely broken. This is crucial to successfully install the product again in place.
Step 4
Take a workable cement with 1:4 proportion and a sand mortar mix that is sharp and begin the process of re-bedding your pavers or tiles. A rule of thumb would be to double-check that you aren’t leaving any piece of stone behind if there is a significant area to be repaired.
Step 5
Now that you are done with the re-bedding part, make sure that you are allowing your beautiful crazy pavement to dry up completely. If you ask us, we’d say wait for at least 24 hours.
Step 6
In this step, all you have to do is be sure of the cleanliness of the pointing gaps so that they remain free of debris and dust particles.
Step 7
Now, take the mixture of plastering sand mortar and 1:4 cement and fuse the same with a plasticiser. This will facilitate the process of you working with it in general. Then use some water to bring a consistency similar to the stiff mortar that is used for bricklaying.
Step 8
This is the step where you need to be extra careful. After all, you will be filling in the gaps between your Crazy Pavers using the jointing material. You’ll need to be cautious because you would not want your stone surfaces stained, right? Taking time to apply the material carefully will help maintain the appeal while ensuring a clean finish.
Step 9
Lastly, use a trowel to smoothen any pointing mortar. Remember to be double-sure on the raincheck as the same can blow the jointing and make your crazy pavement become stained. Dry weather is important, after all.
And… you’re good to go now!
Also Read: How to Fill Gaps in Crazy Paving: Top Tips & More
In A Nutshell
Owning a crazy pavement is a great way to make your property look unique and enhance its overall value. While the method may yield successful results and create a dynamic look that you have been wanting, it is common to feel riddled with questions as to how you can repair the same at home. And if you ask us, it is not extremely difficult for those who have a knack for DIY, correct tools and can follow everything to the.
From the very first step of inspecting to the very last step of troweling, your step-by-step guide is right above. Regardless, if you feel that DIY is not your thing, then there is no harm in contacting the experts and seeking professional help. However, just make sure that you are contacting authentic people or subject matter experts only so that you can get the best outcome for yourself.
On that note, happy DIYing!
FAQs
Q: What is the general cost of Crazy Paving?
Well! Generally, if you are relying on experts to source as well as install crazy paving within your property, the price may differ depending upon who have you contacted for the same. The best way to get an exact idea would be to request a quote from the experts themselves.
Q: Does Crazy Paving last long?
Yes! Since this paving method is done using natural stones, the same can last for years if installed and maintained as per Australian standards. Also, to add, this visually appealing pavement style using natural stones also increases the overall value of your property.
Q: Is it possible to do Crazy Paving yourself?
Of course! Like we mentioned, if you have a knack for DIY and like to take matters into your own hands quite literally, then you will surely be able to crazy pave your project.
Q: Can concrete be used to lay your Crazy Paving?
Totally! In fact, generally, the same is laid on a surface made of concrete. However, you can also lay it over a stabilised base made of crushed rock that is also nicely compacted in nature.